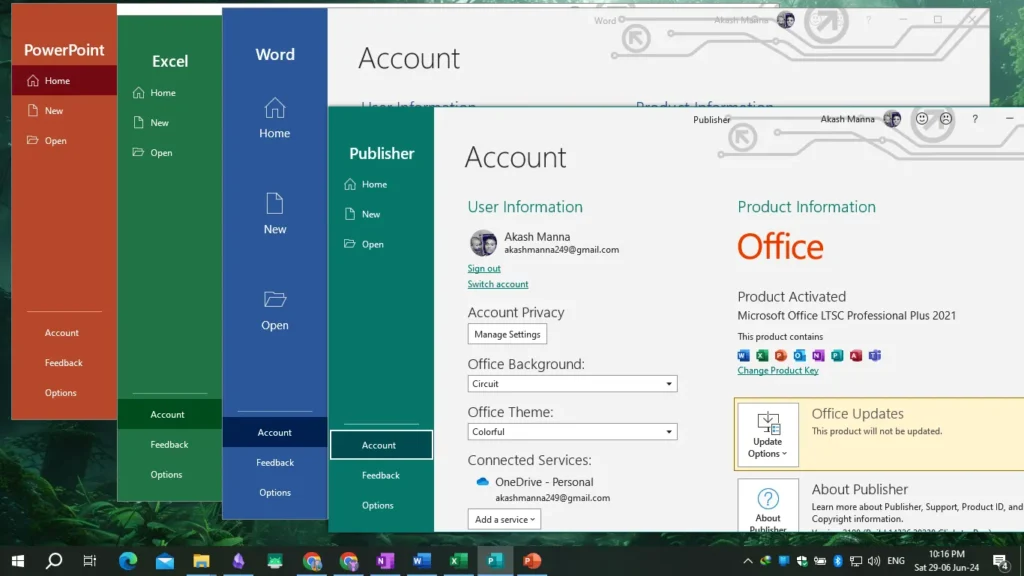
How to Install Different Versions of MS Office on a Fresh Windows Installation
If you've just installed a fresh copy of Windows, chances are you don't have WinRAR installed yet. If you don't have it, make sure to download and install WinRAR before proceeding, as you'll need it to extract the installation files for MS Office.

Step-by-Step Guide to Installing MS Office 2007
- Extract Installation Files:
- You might receive the installation files in ZIP or RAR format. Use WinRAR to extract these files.
- Locate and Copy the Serial Key:
- Open the extracted folder, scroll down to find a file containing the serial key. Open the file and copy the key.
- Run the Setup File:
- Double-click on the setup file. When prompted, paste the serial key and click on Continue.
- Accept the terms and click on Install Now or customize the installation by selecting “Not Available” for software you don't need (e.g., Outlook, Groove).
- Complete the Installation:
- Click on Install Now to begin the installation process. Once complete, click on the Close button.
- Open MS Word, uncheck all update options, and turn off updates to prevent interruptions.
Important Tips for All Installations
- Disable Internet: Before starting any installation, disable your internet connection. For Wi-Fi, turn it off; for Ethernet, unplug the cable or disable the connection using the Run command (Windows + R, type NCPA.CPL, and disable the network adapter).
Installing MS Office 2010
- Follow Similar Steps as 2007:
- Copy the serial number from the provided file.
- Run the setup file, paste the serial number, and proceed with the installation as before.
Installing MS Office 2013 and 2016
- Check Windows Version:
- Ensure your Windows is either 32-bit or 64-bit. Right-click on “This PC”, select Properties, and check under System Type.
- Run Setup and Customize:
- For 64-bit systems, open the 64-bit folder, and double-click on the setup file.
- Customize the installation if needed, then proceed with Install Now.
- Post-Installation Activation:
- For Office 2016, you might need an activator. Download the activator, run it, and follow the prompts to activate Office.
Video Guide:

Installing MS Office 2021
- Prepare the ISO File:
- Right-click on the 2021 ISO file, open it with WinRAR, or mount it using File Explorer.
- Run the Setup as Administrator:
- Right-click on the install file and choose “Run as Administrator”. The CMD panel will open and begin the installation automatically.
- Post-Installation Checks:
- Ensure MS Office is activated. If not, use the provided activator, running it as Administrator.
Installing MS Office 2024
Video Guide: https://youtu.be/E5QJ3VFjIlU
Download Activator with MS Office 2024 Free
Installing MS Office 365
- Edit Configuration File:
- Open the installation folder and find the configuration file. Edit this file in Notepad to customize the installation.
- Run Setup and Activate:
- Double-click the install file and let it install. After installation, use the activator to complete the activation process.
Final Steps for All Installations
- Disable Updates:
- After installation and activation, always disable updates to prevent issues with license expiration.
- Test and Share:
- Test all installed applications like Word, Excel, and PowerPoint to ensure they work properly.
- Share this guide with your friends or colleagues who might find it useful.
By following these steps, you can successfully install and activate various versions of MS Office on your Windows computer. Don't forget to like and share this guide if you found it helpful!
I’m not sure whhy but thhis webloog is loading incredibly slow for me.
Is anyone else having this problem or is it a
issue on my end? I’ll checck back later and ssee if the problem
still exists. https://bandurart.Mystrikingly.com
Have you ever thought aboout adding a little bbit more thsn just
your articles? I mean, what you say is important and all.
But just imagine if you added some great pictures or video clips to give your posts more,
“pop”! Your content is excellent but with pics aand videos, this blog could undeniably be one of the very beest
iin its niche. Fantastic blog! https://bandur-art.blogspot.com/2024/08/the-ultimate-guide-to-no-mans-sky-mods.html
I’m very happy to discover this site. I need to to thank you for
ones time just for this wonderful read!! I definitely
loved every part of it and i also have you saved as
a favorite to llok at new information on your web site. https://bandur-art.Blogspot.com/2024/08/the-ultimate-guide-to-no-mans-sky-mods.html
Great breakdown! It’s refreshing to see a resource that simplifies AI discovery for professionals. The AI Reviews Assistant adds real value by cutting through the noise.